Alongside the default safeguarding concern statuses of open, closed, archived, you can also create your own. This can add a new layer of differentiation to your safeguarding concerns.
Firstly, to locate where the statuses are kept, navigate and mouse over the admin drop down menu on the turquoise bar and select school settings.

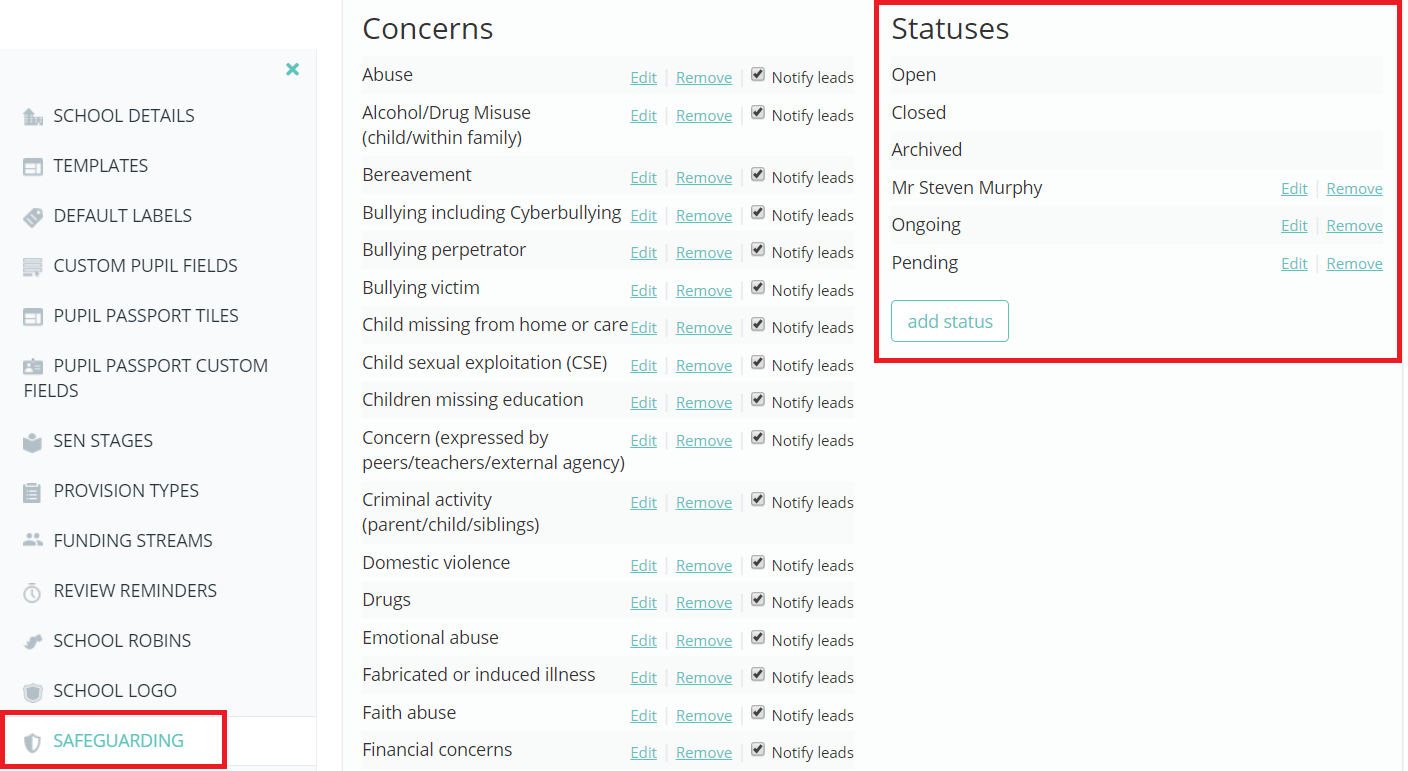
Next click on safeguarding on the navigation menu down the left side. Scroll down past the settings and you will see statuses.
Creating a new custom status
From here you can create your custom statuses.
Click on add status and then enter a name for the custom status in the popup that appears. After writing a name for your custom status a further popup will appear.
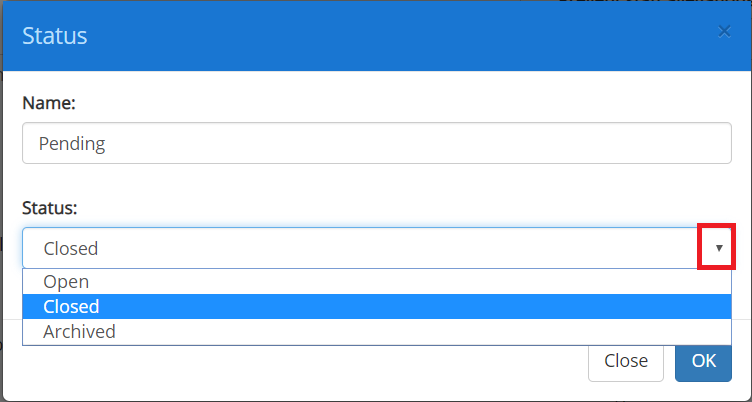
It is here that you assign a corresponding default status. These are open, closed and archived. This will affect the colouration of your custom status on the concerns list and their location. Note: Clicking edit by a custom statusas shown on the list above, will also trigger this popup.
Open will represent your custom status with a green background on the concerns list
Closed will represent your custom status with a red background on the concerns list.
Archived will display the concerns with a custom status on the archived concerns list and represent the custom status with an orange background. As shows below for example.

Applying a custom status
Once created, a custom status would be applied int he same manner as a default status. This would be by visiting the concern itself via the safeguarding dropdown on the turquoise bar and selecting view concerns. For more on viewing and assessing a safeguard concern, see here.
Deleting a custom status
Should you no longer need any of the custom concerns you have created, you can remove them from your account as follows.
On the list of statuses in school settings, click remove next to the status you wish to delete.

This will then trigger a popup with a warning message.
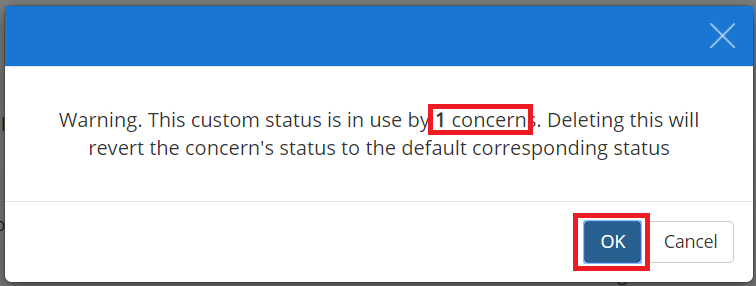
The implications of removing the custom status as mentioned in the popup is that the custom status will revert to the corresponding default status that was selected when the status was created (or edited to have a different default status attached to it). It also alerts you to how many concerns are currently using the custom status. Click OK to confirm removal.
Using the example above and from the previous images used, deleting this custom status would revert the associated concerns to archived automatically, and look like this on the concerns list.
