If you manage multiple schools as an area user, you may be required to set up and control accounts for other area users. Provision Map allows you to do this via the Manage users page.
To add a new area user to your area, click on the Manage users tab.

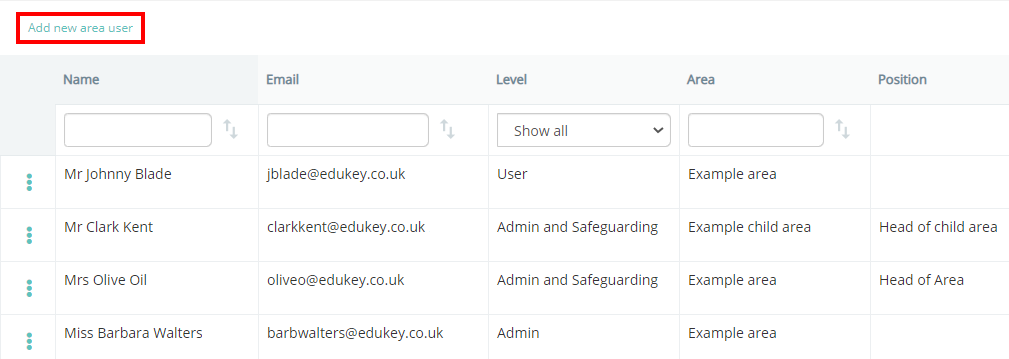
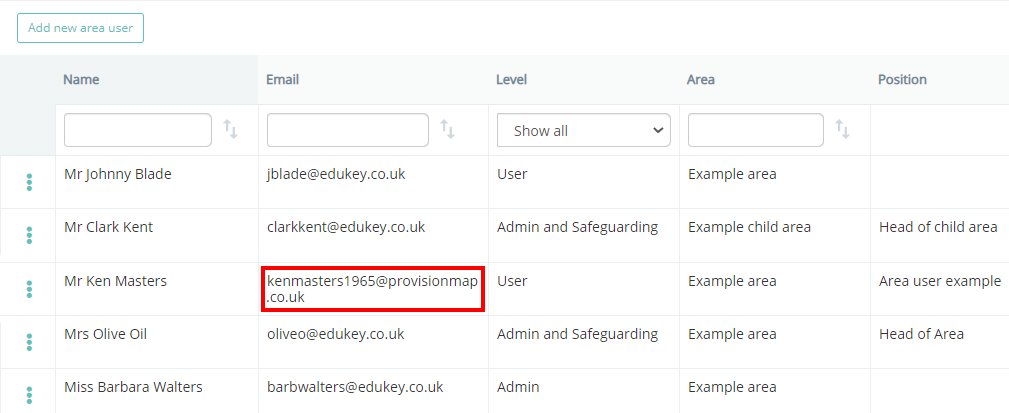
You will be presented with a list of area users for your assigned area, along with any that belong to child areas (smaller areas within the area) that have been set up. Click on the Add new area user button in the top left corner of the page.
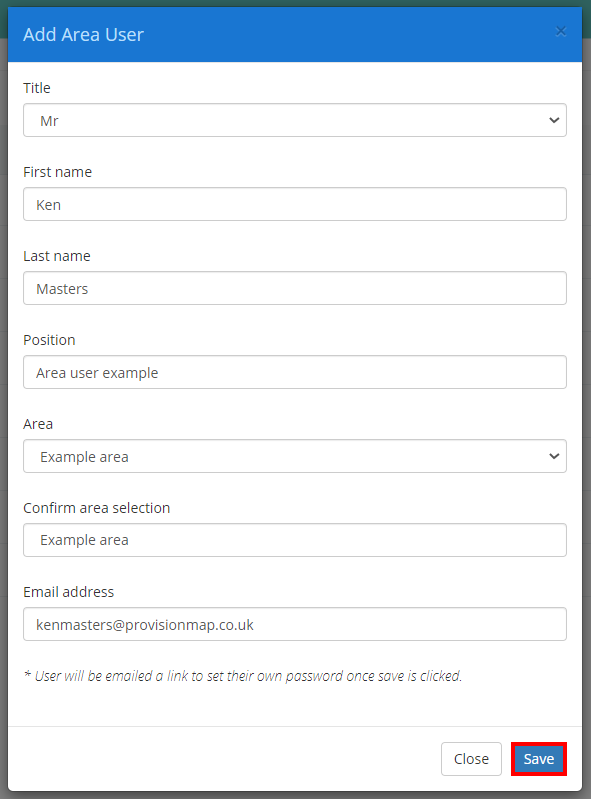
The Add Area User popup will appear. Fill in the form provided with the new area user’s title, name, position, area and email address. Click on the Save button to continue.
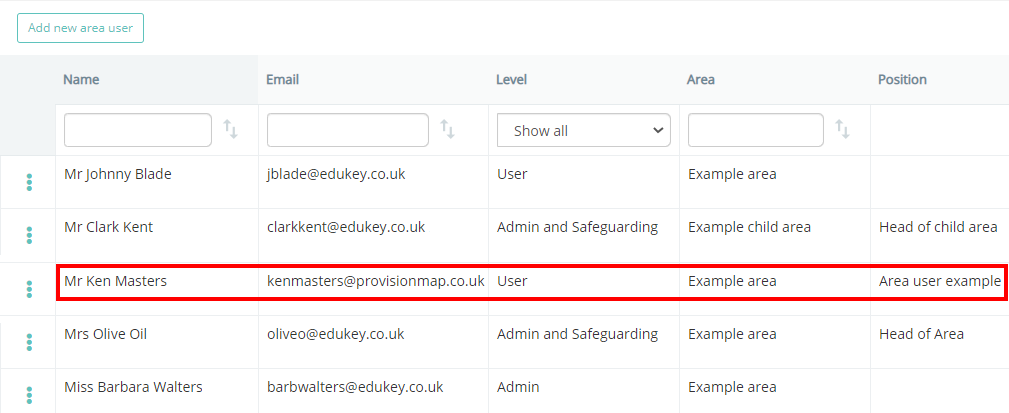
The new area user will now be displayed in the list of area users.
Setting permission levels for an area user
Once an area user has been created, you will need to decide on the appropriate level of access they should have for schools in their area.
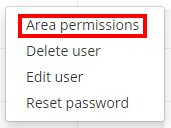
To set area permissions for an area user, click on the three dots menu next to their name and select Area permissions.

The Area permissions popup will appear, listing the actions that the selected area user can perform in each school. To find out more about each permission, click on the following Knowledgebase article.

Tick the permissions of your choice and click on the Close button once you are happy with the area user’s permissions setup.
Editing an area user
Changes to an area user’s basic details can be made at any time, such as changing their name or email address.
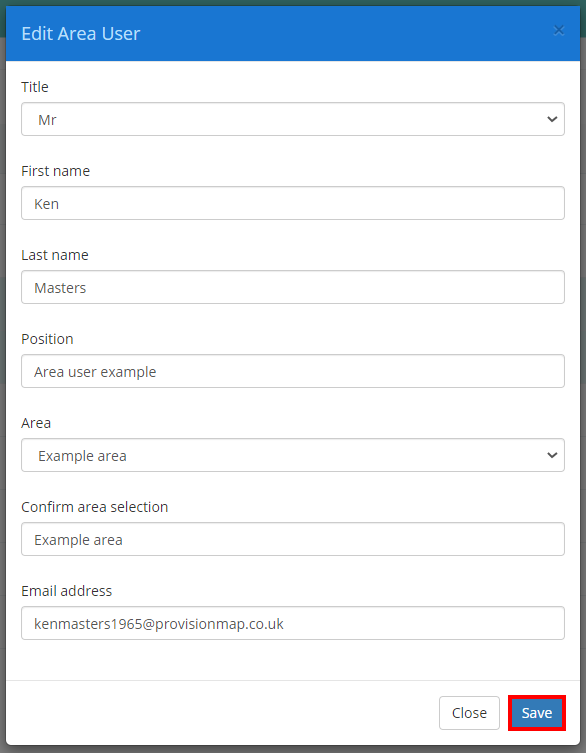
To edit an area user, click on the three dots menu next to their name and select Edit user.

A popup will appear. Update the fields of your choice and click on the Save button to continue.
The selected user’s details will now be successfully updated on the Manage users page.
Resetting an area user’s password
To reset an area user’s password, click on the three dots menu next to their name and select Reset password.
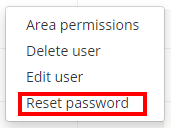
A confirmation popup will appear. Click on the Yes button to continue.

The selected user area will be sent an email that contains a password reset link.
Deleting an area user
If a colleague has left an area under your administration, it is vital to revoke their access to the area dashboard for security purposes.
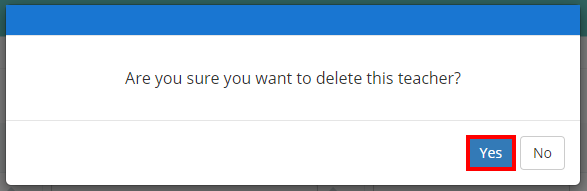
To delete an area user, click on the three dots menu next to their name and select Delete user.
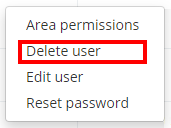
A confirmation popup will appear. Click on the OK button to continue.
The selected user will now be successfully removed from the Manage users page.
