When you create a new plan or edit an existing plan, you will be taken to the “Edit plan” page. This page is broken down into multiple sections, which are explained below:
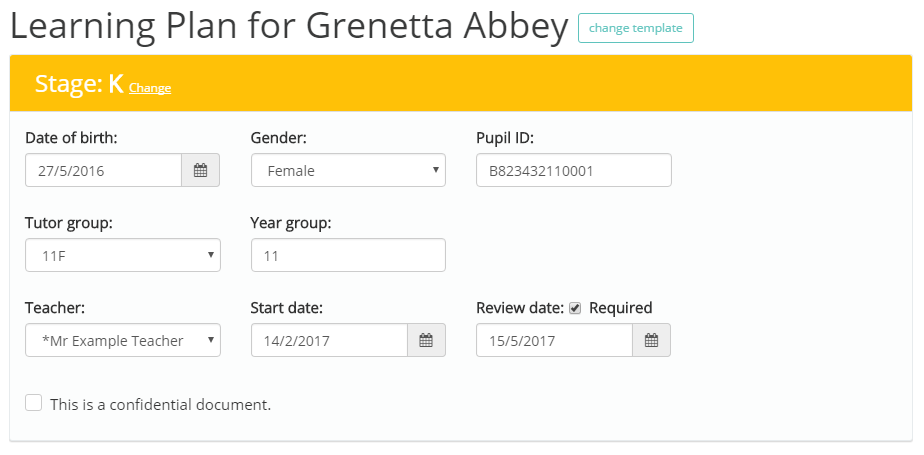
Stage
The Stage section of a plan details the pupil’s core data, such as date of birth, their pupil ID, their year group and the teacher in charge of their plan. You can also state when the plan goes into effect and when the plan will need to be reviewed (optional).
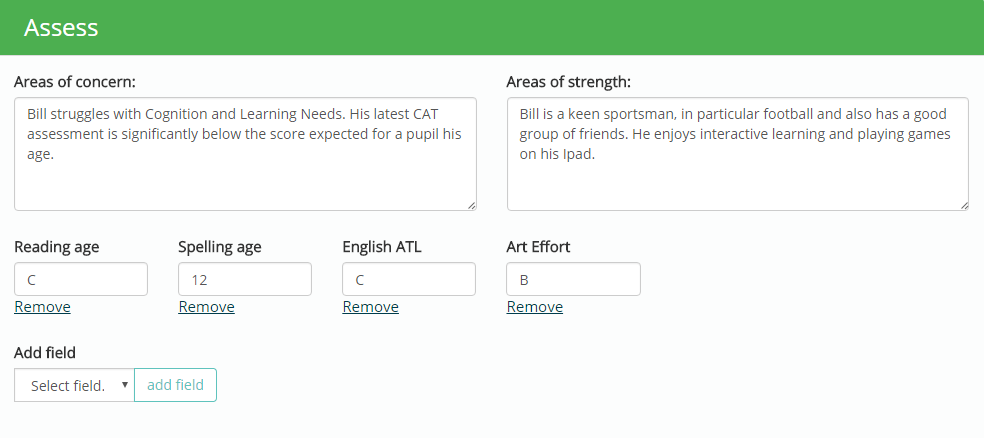
Assess
The Assess section of a plan allows you to outline the areas of concern that the plan is designed to address, and the areas of strength that the pupil possesses. You can also include the pupil’s grades if you have any set up. To find out which custom fields have been set up to display here, check out the “Custom Learning Plan fields” section of the “School Settings” menu.
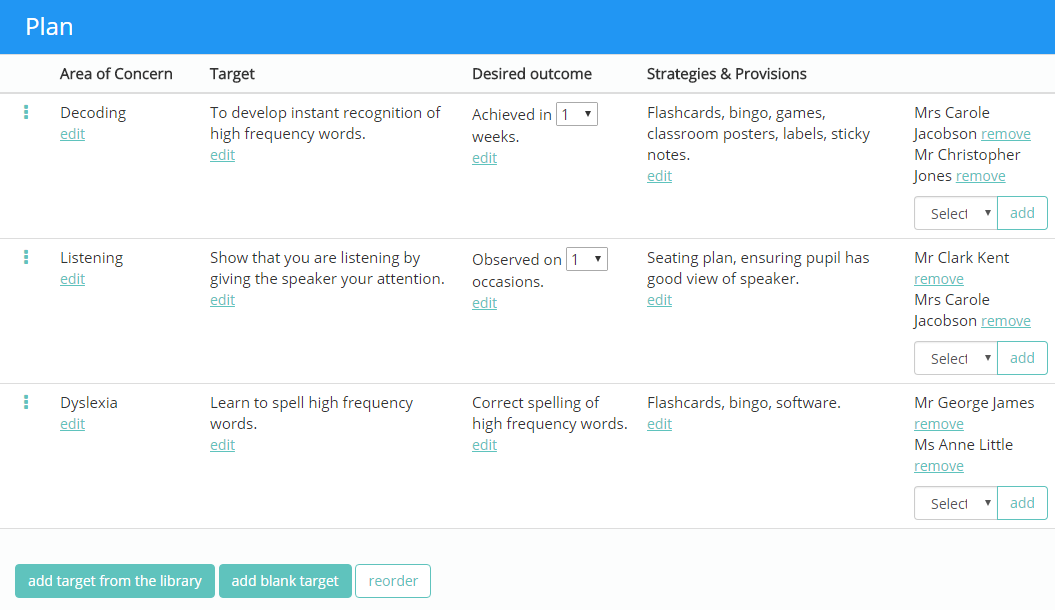
Plan
The Plan section of a plan houses the individual targets that the pupil will work towards under this particular plan. This information includes the area of concern that the target falls under, a description of the target, the desired outcome, a list of strategies to meet the target and a list of assigned staff members. You can create a blank target or add an existing target from the target library. To reorder the targets, click on the “reorder” button and drag the targets to your preferences.
Below the list of targets are several text areas of additional information. This is where the plan summary is described to the reader, along with any comments made by parents or the pupil. To add a new text box to this section, click on the “add additional field” button. You will be asked to give the text box a name before it will be added to the plan. If you would like to add a new text area that gets carried over to all new plans, then create a new learning plan text area from the “Custom Learning Plan text areas” section of the “School Settings” menu.

Signatures
The Signatures section of a plan allows you to add signatures to your plan that can be signed by the relevant parties. To add a new signature to the plan, click on the “add additional signature” button. You can edit and delete an existing signature by clicking on the pencil and bin icons respectively. If you would like to add a new signature that gets carried over to all new plans, then create a new learning plan signature from the “Custom Learning Plan signatures” section of the “School Settings” menu.

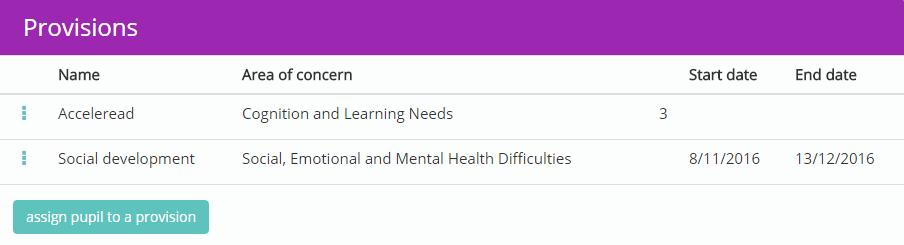
Provisions
The Provisions section of a plan lists the provisions that the pupil has been assigned to. Each provision in the list displays the provision name, the area of concern that it falls under, the wave of the provision, the start date and the end date. To assign a pupil to a new provision, click on the “assign pupil to a provision” button. This will open up a search menu containing all of the active provisions in your Provision Map account. Clicking on your chosen provision will add the provision to the pupil’s provision list. The 3 dots menu next to each provision allows you to view the provision, review the provision, print the provision and unassign the pupil.
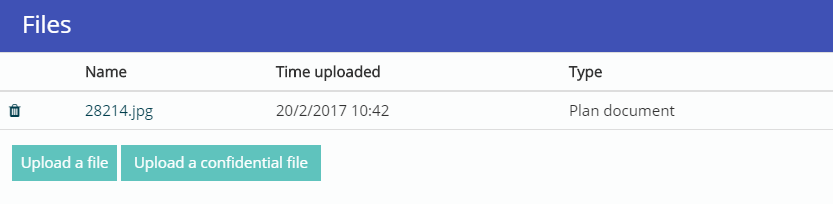
Files
The Files section of a plan allows you to upload files to a pupil’s learning plan. Uploaded files will also appear on the pupil’s profile page and vice versa. Click on the “Upload a file” button to select a file from your computer to include with the plan.
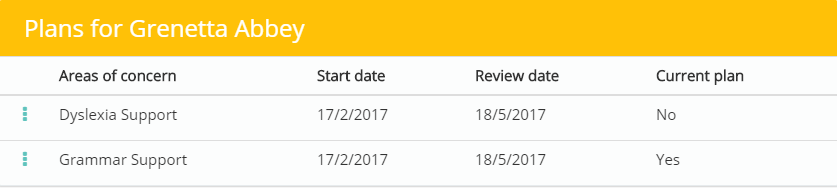
Plans
The Plans section of a plan lists previous plans that the pupil has been on. Each entry in the list displays the area of concern that the plan fell under, the start date, the review date, and whether or not it is the active plan. The 3 dots menu next to each plan allows you to view the plan, review the plan and print the plan.
Passports
The Passports section of a learning plan lists all of the passports that the pupil has had in the past. The passport that the pupil is currently using will be marked as Yes in the Current passport column. The 3 dots menu next to each entry allows you to view the passport and print out a copy.

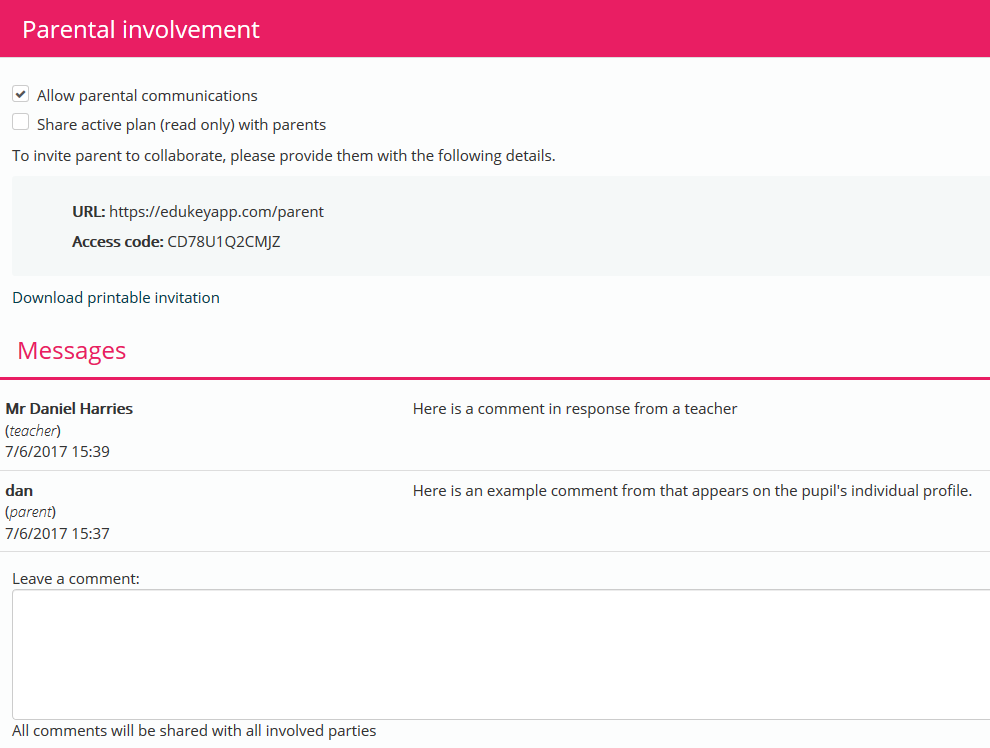
Parental Involvement
The Parental involvement section of a learning plan allows you to send and receive comments from the pupil’s parents. To enable this, tick the “Allow parental communications” checkbox. You can share a read only version of the plan with parents by ticking the “Share active plan (read only) with parents” checkbox. To view the plan, they will need access to the provided URL and Access code.