If your school’s Provision Map account is not linked to your school’s MIS, you can still add new pupils. There are two ways to achieve this:
Adding an individual pupil
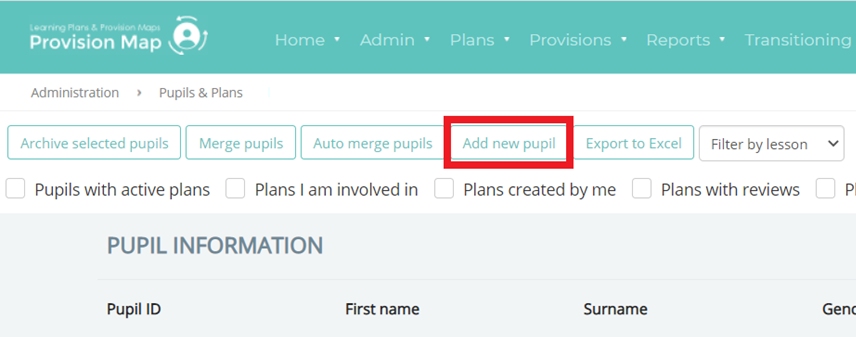
To individually add new pupils to your school’s Provision Map account, mouse over the Admin tab and select Pupil Details from the drop down menu.

You will be presented with a list of pupils that are currently enrolled at your school. Click on the button labelled Add new pupil.
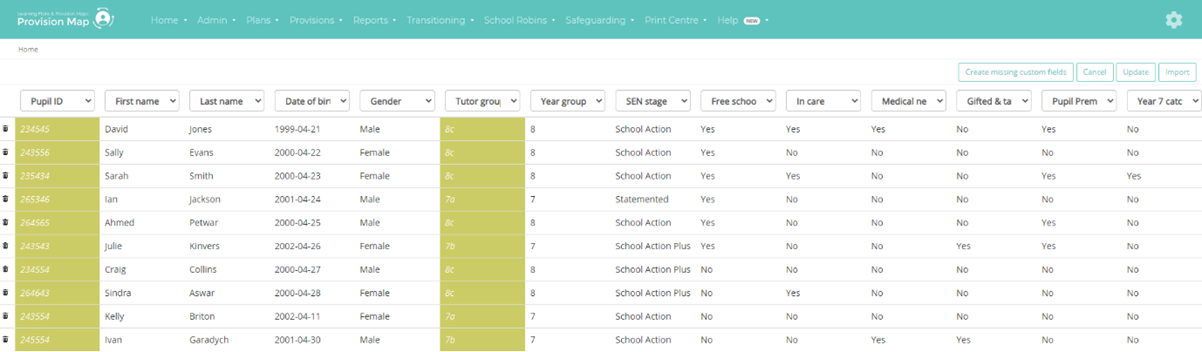
The Add new pupil page will appear. Fill in the following Core data fields: Pupil ID, First name, Last name, Gender, Date of Birth, Tutor group and SEN Stage.
Please Note: Please ensure that the Pupil IDs are unique to the pupils as we use it as the unique identifier to match the correct pupils with their data.
Click on Save pupil button in the top right corner of the page to confirm your changes.
![]()
The new pupil will be successfully created, allowing you to create pupil documents for them.
Adding multiple pupils via spreadsheet import
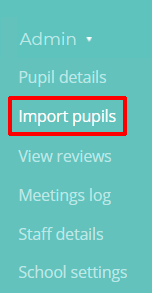
To add new pupils to your school’s Provision Map account in bulk, mouse over the Admin tab and select Import pupils from the drop down menu.
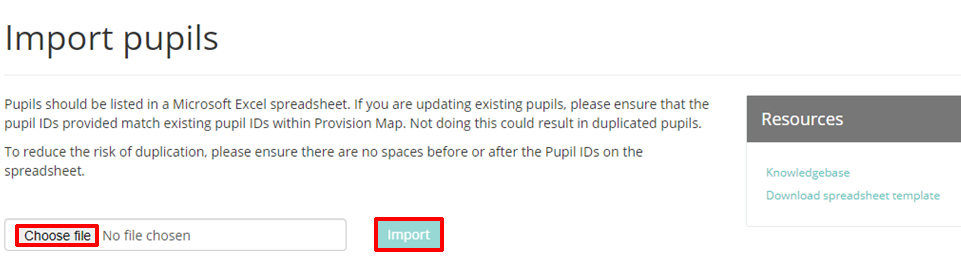
You will be presented with the Import pupils page. Select the spreadsheet of your choice via the Choose file button and click on the Import button.
An example spreadsheet template can be found on the right under the Resources section.
A confirmation popup will appear. Confirm the School name, and click on the OK button to continue. Your school’s name can be found in the School details section of the School Settings page.

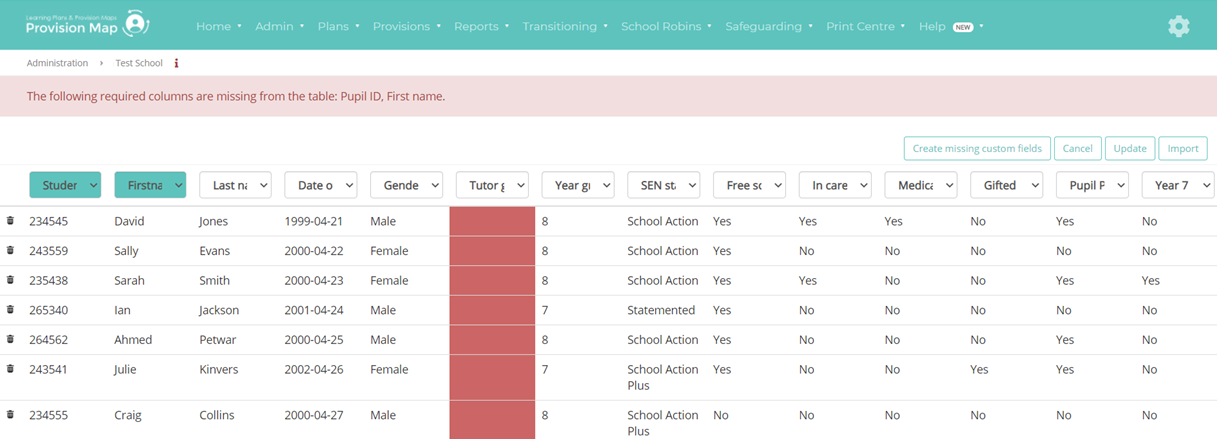
The pupil data from your spreadsheet will now appear on a preview page. If everything seems correct, click on the Import button to proceed with the upload.
Any cells that are highlighted in red represent a potential problem and cannot be imported until they are amended. This can include incorrect field names e.g. Student ID instead of Pupil ID, and missing core data.
If certain data does not apply for the school, we advise using N/A or Not applicable for the field.
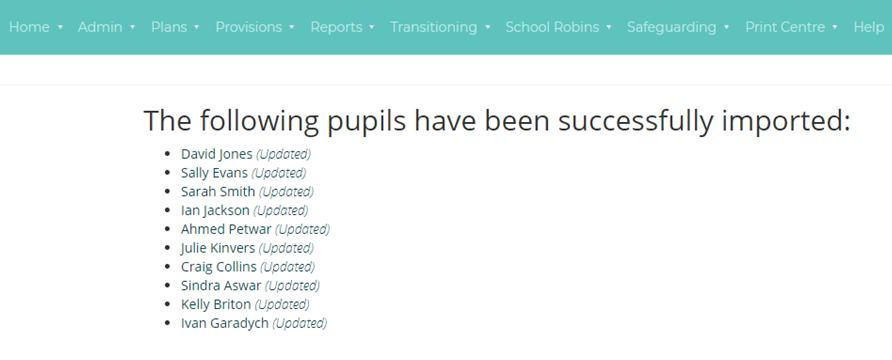
If the data on the preview page is valid, clicking on the Import button will redirect you to the a summary of the successful import.