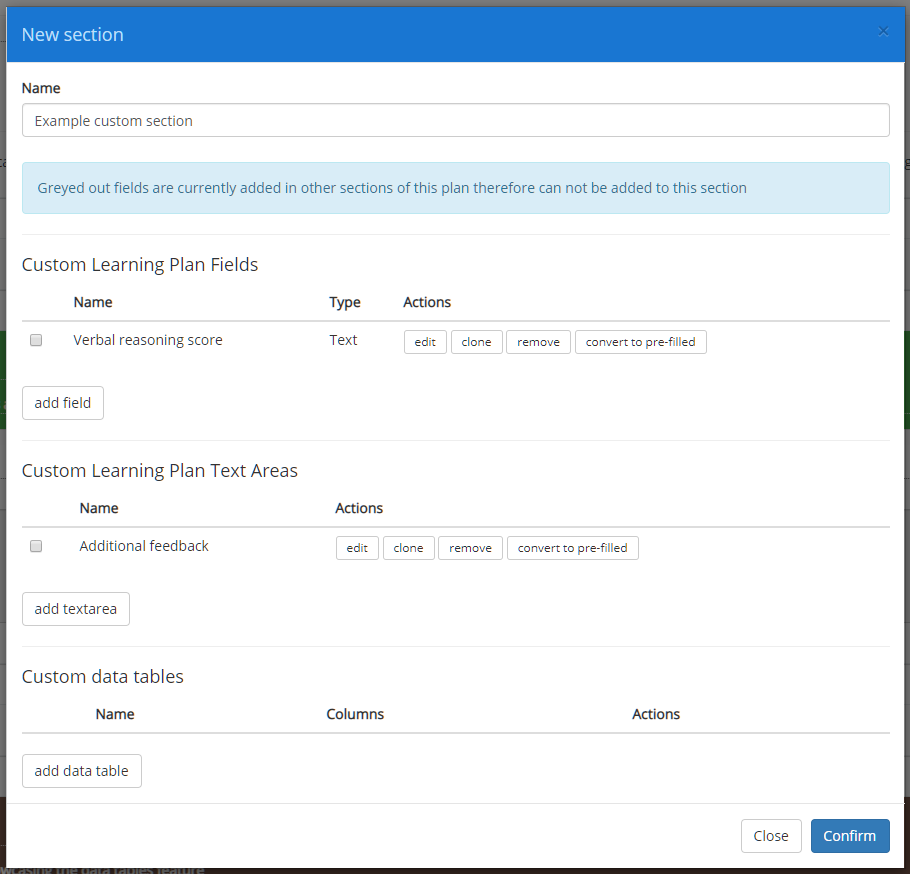
When creating and editing sections in a custom learning plan template, you can also set up prefilled custom learning plan fields, text areas and data tables that contain the same information across all plans that use them.
To access a list of your school’s custom learning plan fields, text areas and data tables, click on the create new section button when viewing a template.

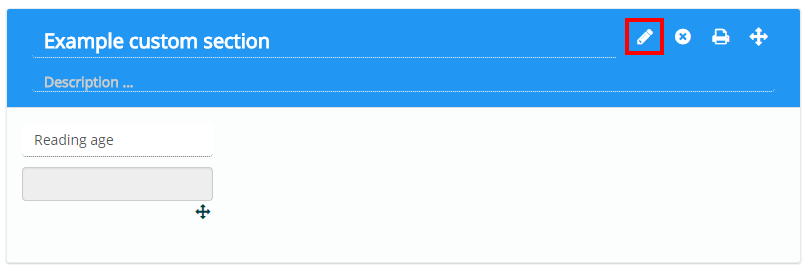
Alternatively, you can also click on the pencil icon on an existing section.
Performing either of these actions will bring up the New section / Edit section popup, which contains three lists of available learning plan fields, learning plan text areas and custom data tables.
Converting a plan field to pre-filled
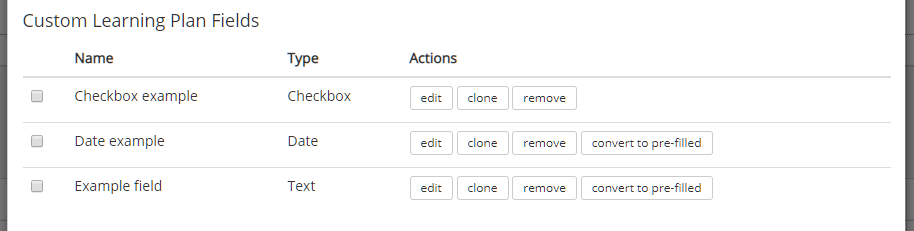
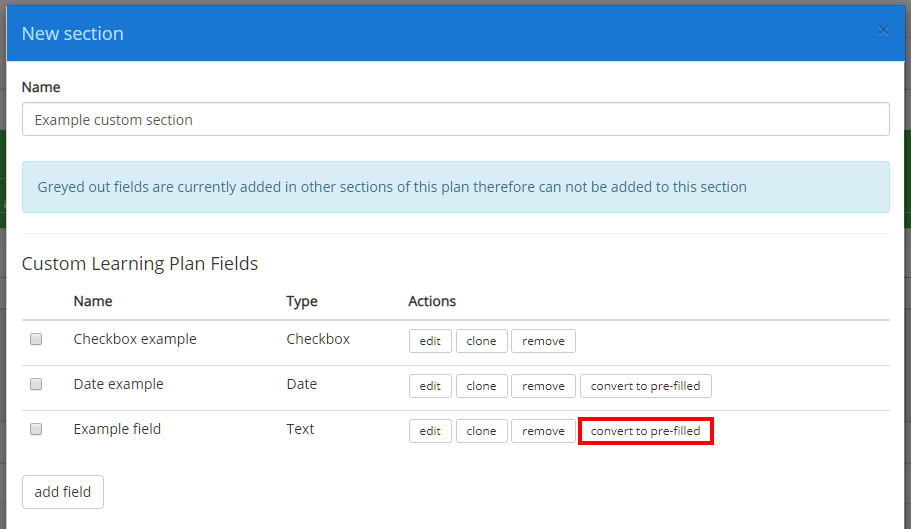
To convert a custom learning plan field to a pre-filled field, click on the convert to pre-filled button.
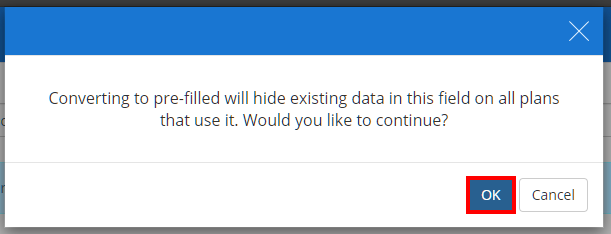
A popup will appear, warning you that existing data for the plan field will be hidden from all plans that use it. Click on the OK button to continue.
Note: If you later decided to convert the plan field back to normal, the hidden data will reappear on all plans that use the plan field.
Next, enter a new value for the plan field that will be applied to all plans. Click on the OK button to confirm your choice.

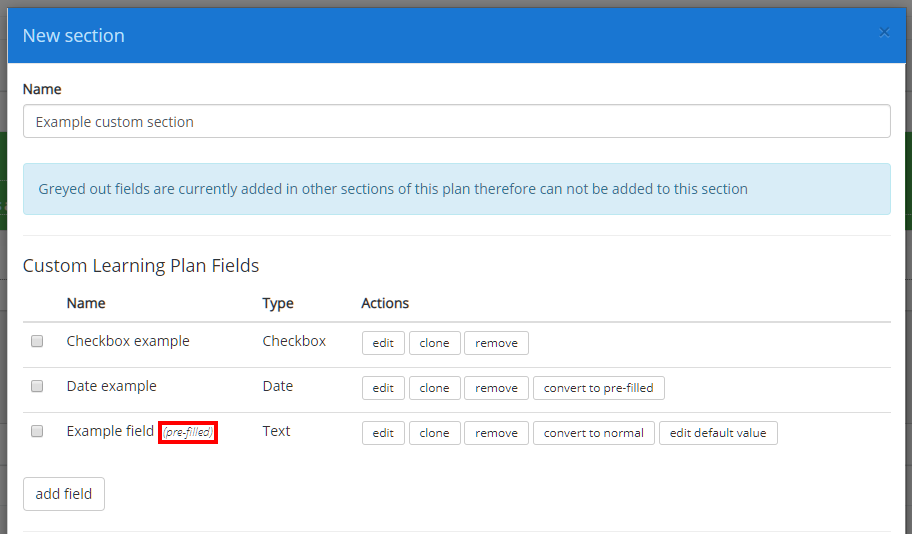
The plan field will now be successfully converted to a prefilled plan field, as indicated by the (pre-filled) label in the Name column.
The prefilled data can be changed at any time by clicking on the edit default value button.
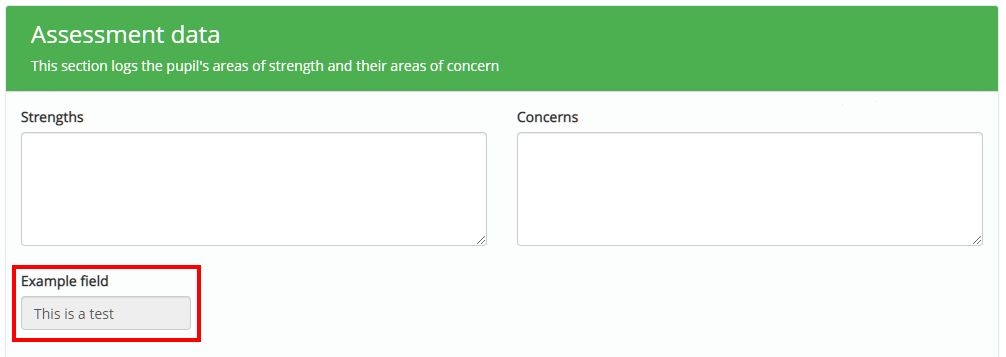
If included in a plan, pre-filled text fields will appear as a greyed out, uneditable text field.
Converting a text area to pre-filled
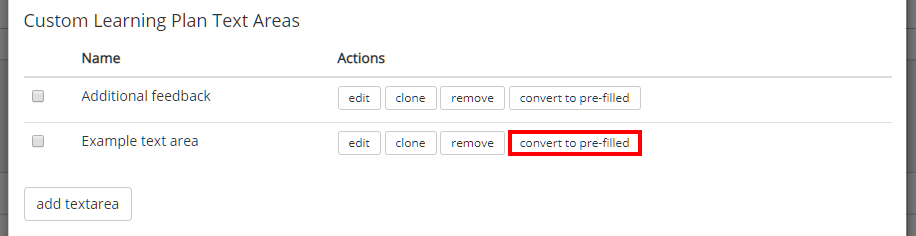
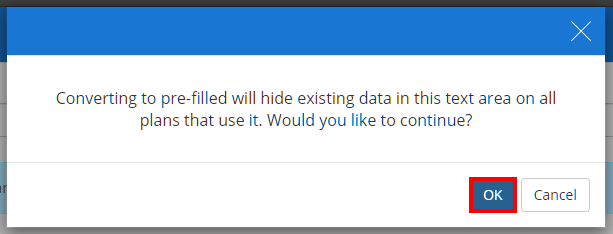
To convert a custom learning plan text area to a pre-filled text area, click on the convert to pre-filled button.
A popup will appear, warning you that existing data for the text area will be hidden from all plans that use it. Click on the OK button to continue.
Note: If you later decided to convert the text area back to normal, the hidden data will reappear on all plans that use it.
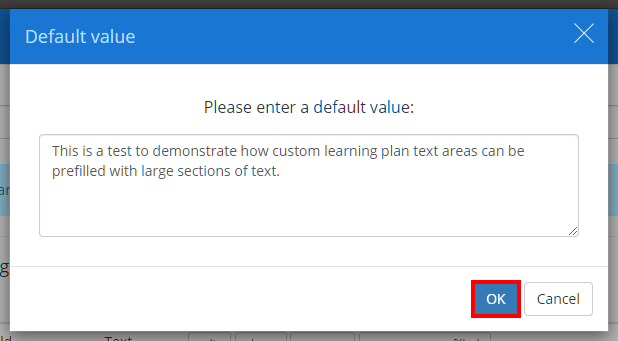
Next, enter a new value for the text area that will be applied to all plans. Click on the OK button to confirm your choice.
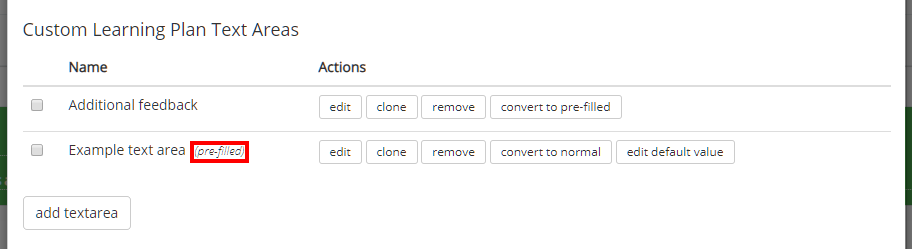
The text area will now be successfully converted to a prefilled text area, as indicated by the (pre-filled) label in the Name column.
The prefilled data can be changed at any time by clicking on the edit default value button.
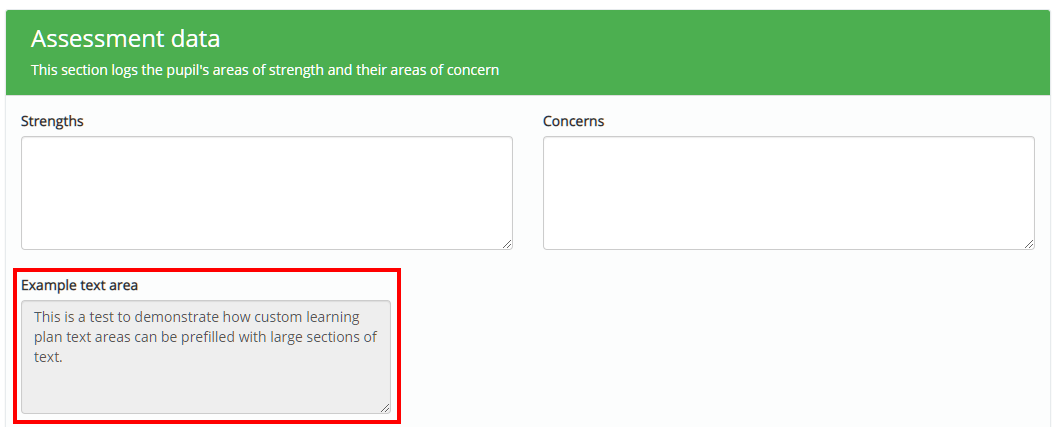
If included in a plan, pre-filled text areas will appear as a greyed out, uneditable text area.
Converting a data table to pre-filled
To convert a custom data table to a pre-filled data table, click on the convert to pre-filled button.

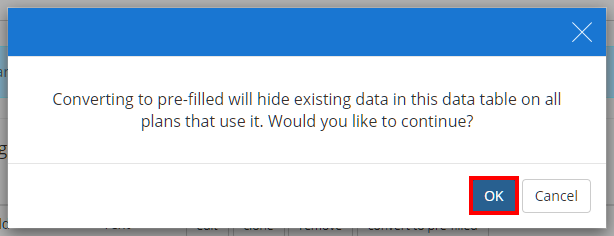
A popup will appear, warning you that existing data for the data table will be hidden from all plans that use it. Click on the OK button to continue.
Note: If you later decided to convert the data table back to normal, the hidden data will reappear on all plans that use it.
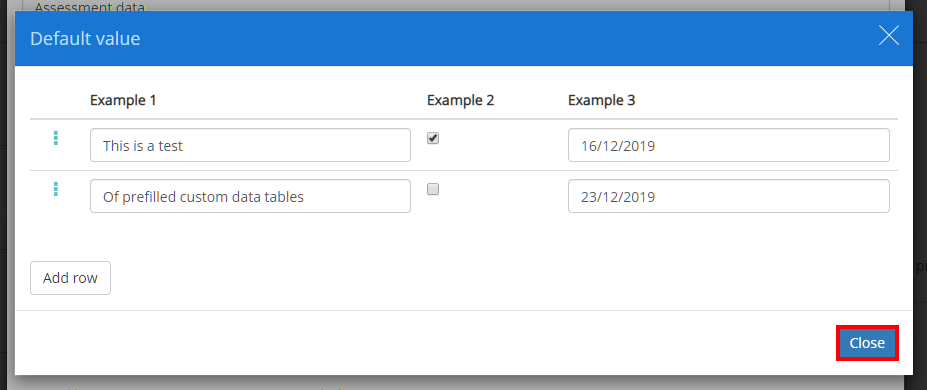
Next, enter new values for each column of the data table that will be applied to all plans. Click on the Close button to confirm your choices.
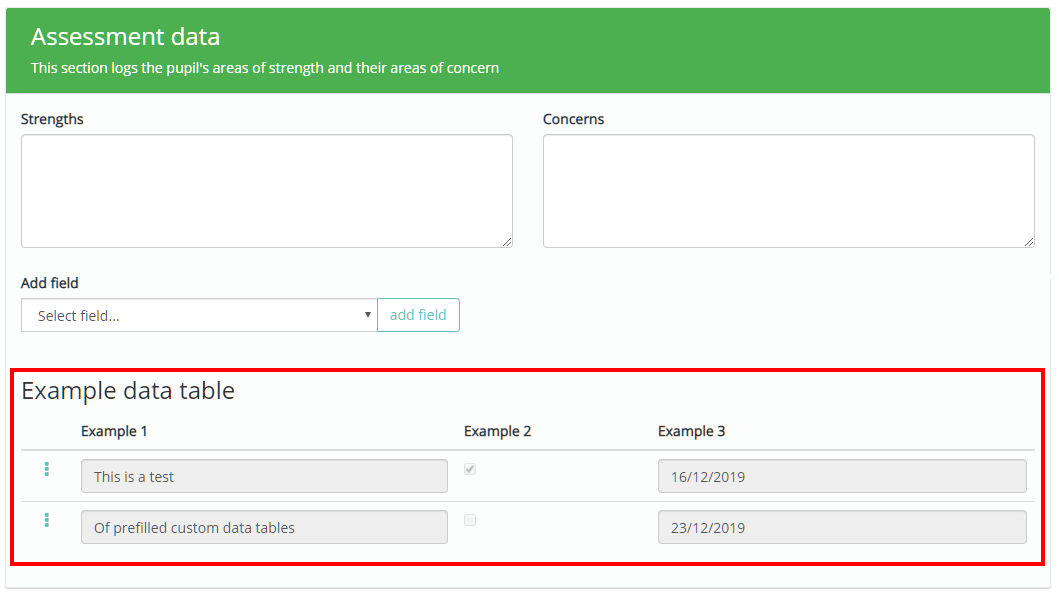
The data table will now be successfully converted to a prefilled data table. The prefilled data can be changed at any time by clicking on the edit default value button.
If included in a plan, pre-filled data tables will appear as a greyed out, uneditable data table.
Converting a prefilled field back to normal
To convert a prefilled plan field, text area or data table back into a normal custom field, click on the convert to normal button.
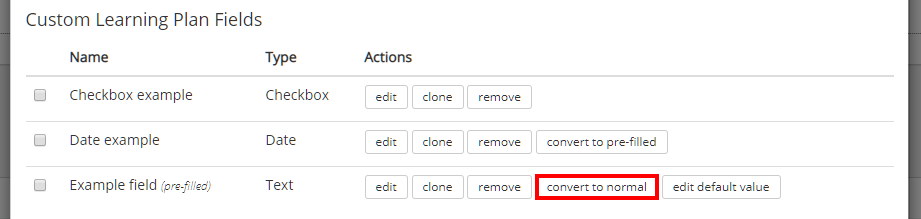
A popup will appear, warning you that existing data for the data table will be restored from all plans that use the field. Click on the OK button to continue.
The selected field will now be successfully converted back into a normal field.