Please note: Workflows are in pilot and are currently only available to specific schools.
Once a custom workflow template has been created, it can be modified to your preferences.
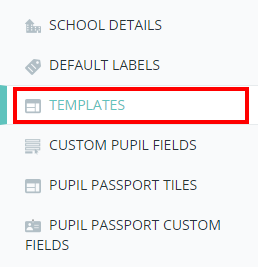
To edit a custom workflow template, mouse over the Admin tab and select School Settings from the drop down menu.

Next, either scroll down to the Templates section of the School Settings page or click on the Templates option in the navigation menu.
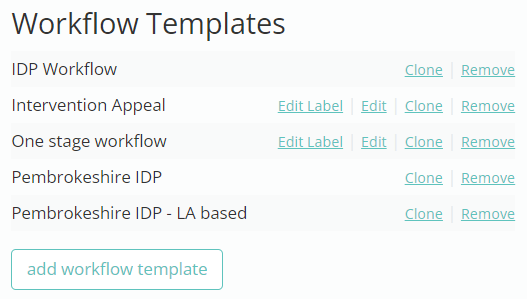
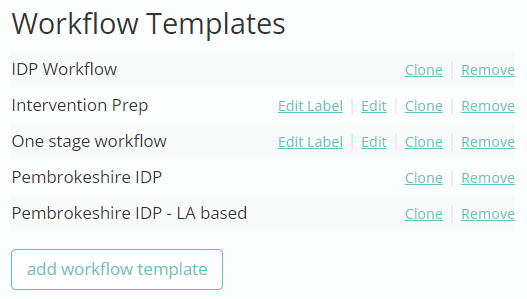
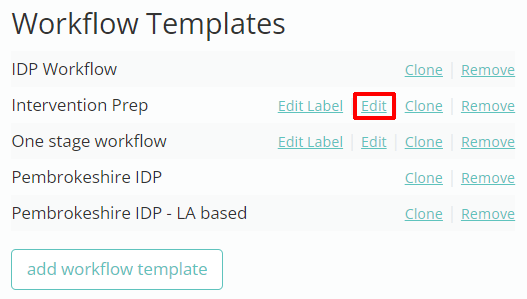
You will be presented with a list of available workflow templates. This includes the default workflow templates, and any custom templates that your school has set up.
Editing a template’s label
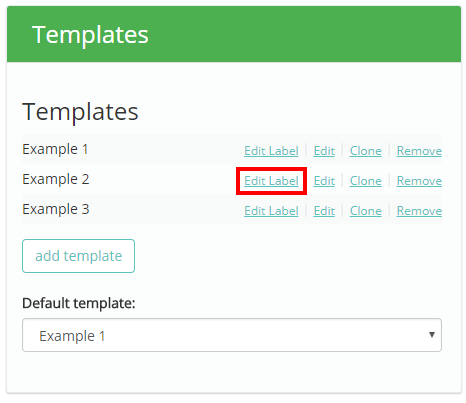
To change the displayed label for a custom workflow template, click on the Edit Label option for the template of your choice.
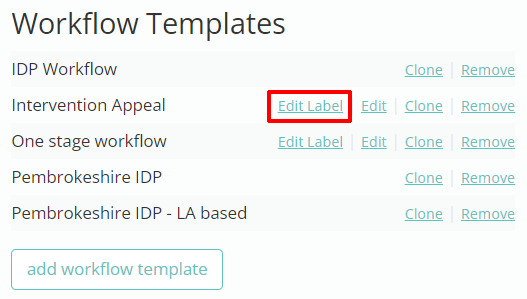
Next, enter the new label into the resulting popup. Click on the OK button once you have finished making changes
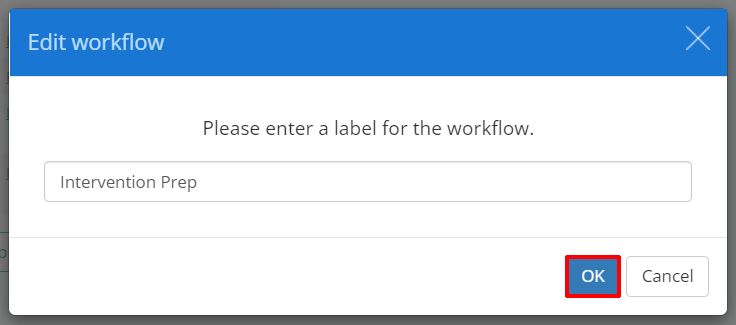
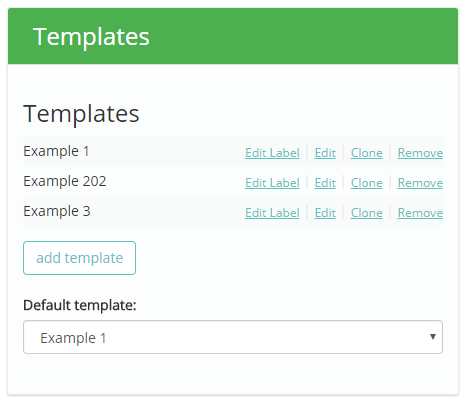
The custom workflow template will now display the updated label.
How to edit a custom learning plan template
Once a custom learning plan template has been created, it can be modified to your preferences.
To edit a custom learning plan template, mouse over the Admin tab and select School Settings from the drop down menu.
Next, either scroll down to the Templates section of the School Settings page or click on the Templates option in the navigation menu.
You will be presented with a list of available learning plan templates, as well as the default template information if one has been set up.
Editing a workflow template’s label
To change the displayed label for a custom w template, click on the Edit Label option for the template of your choice.
Next, enter the new label into the resulting popup. Click on the OK button once you have finished making changes.

The custom learning plan template will now display the updated label.
Editing a workflow template’s structure
To edit the content and structure of a specific template, click on the Edit option for the workflow template of your choice.
You will be presented with the Edit workflow page, where the stages that make up the workflow are listed. Each workflow template can have a maximum of seven stages.
If the workflow template has not been applied to a pupil, you can change the order of stages by clicking on the directional arrows.
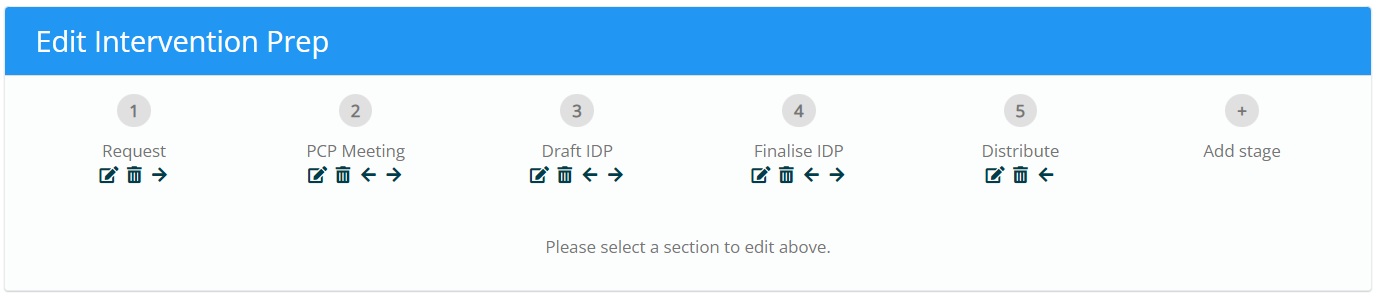
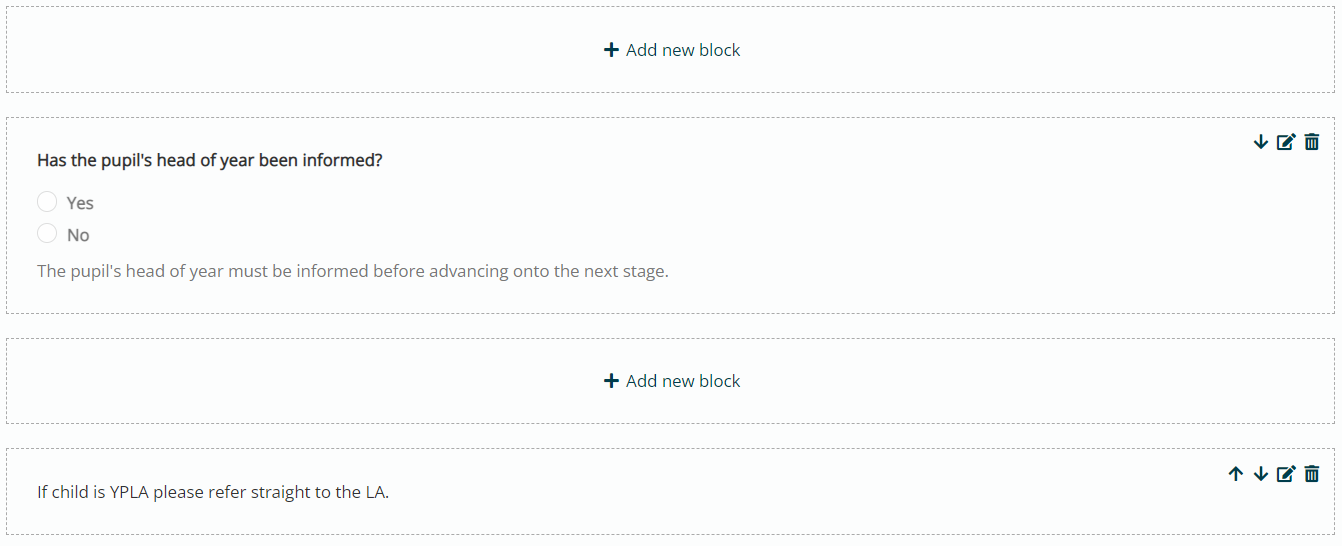
To view a workflow stage in more detail, click on the stage number for the workflow stage of your choice.

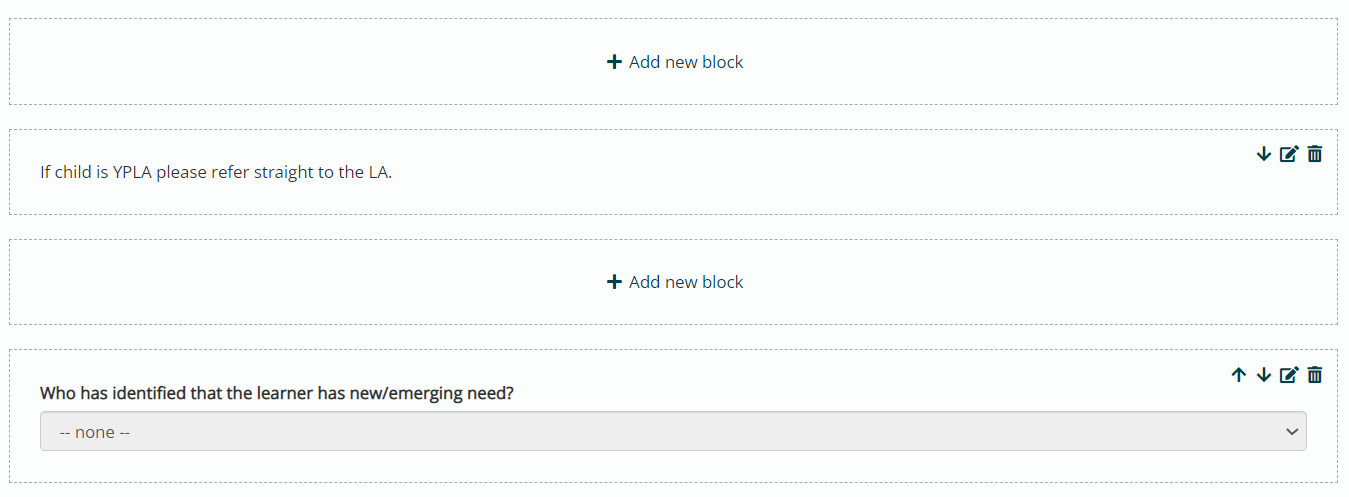
You will be presented with a list of sections that appear within the selected stage. Each section represents a field. To add a new section to the stage, click on the Add new block button.
The New workflow section popup will appear. Here, you can define the section that will be added to the workflow stage. The available options are explained in more detail below:
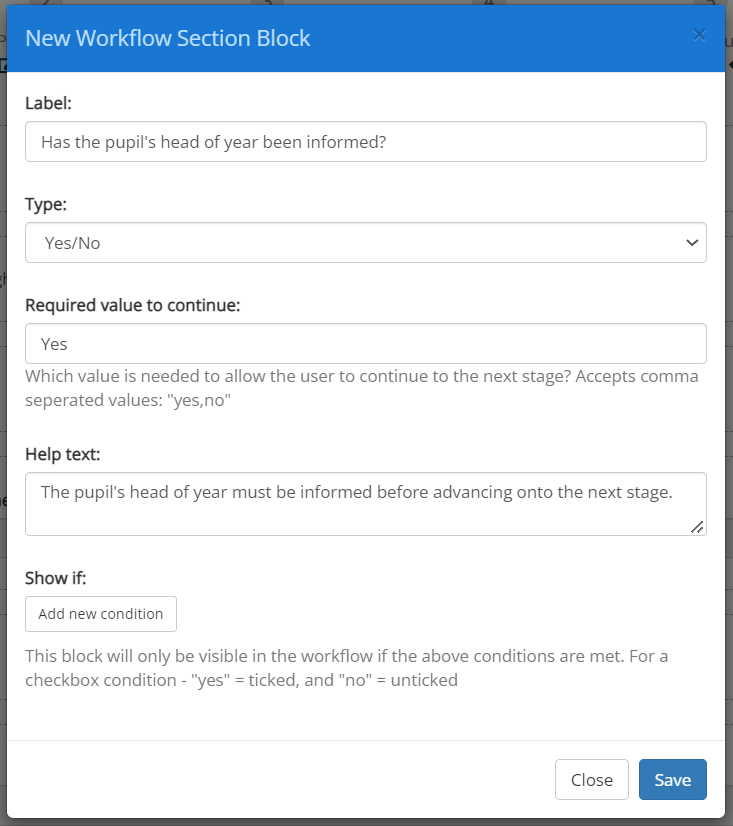
Label: The name of the section.
Type: The field type that the section will use. Each option provides staff with a different method of interacting with the workflow.
Required value / input to continue: These fields control whether or not staff can advance onto the next stage. Depending on the type selected, you can either control which values allow staff to continue, or ensure that a field must have a value before continuing.
Help text: Text entered here will appear at the bottom of the section. It can be used to provide staff with helpful context.
Show if: This field controls when the section appears within the stage. If there are Yes / No, Checkbox or Select sections in the same stage, you can choose to display this section if a specific value is selected by staff on the other sections.
Once the workflow section has been saved, it will appear within the stage. Sections can be edited by clicking on the pencil icon, rearranged with the direction arrow icons, and removed with the bin icon.