In Provision Map, you can create a new passport in two different ways:
Creating a passport from the Plans menu
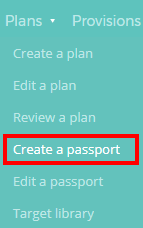
To create a new passport from anywhere in Provision Map, mouse over the Plans tab at the top of the page and select Create a passport from the drop down menu.
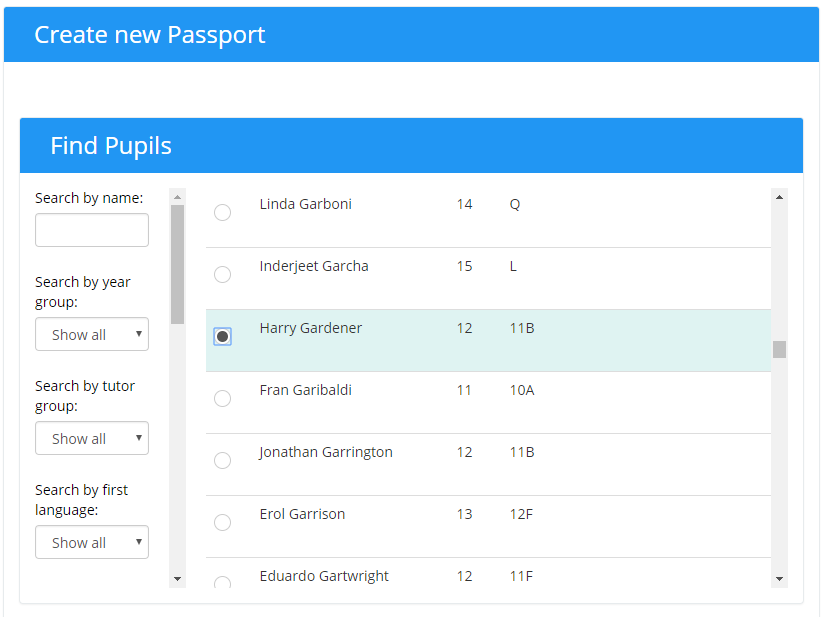
You will be taken to the screen below. Use the Find pupils filter to locate the pupil you wish to create a passport for and toggle the radio button next to their name.
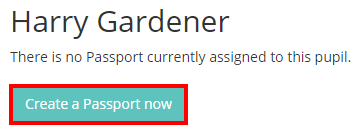
If this is the pupil’s first passport, a button labelled Create a passport now will appear below the list. If the selected pupil already has an existing passport in place, you will be given the options of creating a new passport (which archives their active passport), or editing their current passport.
Creating a passport from the pupil details page
To create a passport from the pupil details page, mouse over the Admin tab in the top menu and select Pupil details from the drop down menu.

First, click on the three dots next to a pupil’s name.
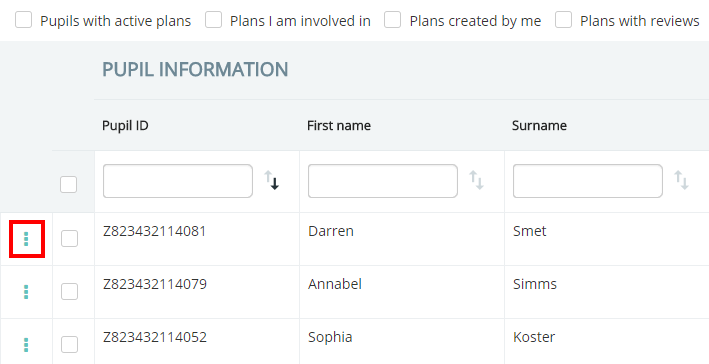
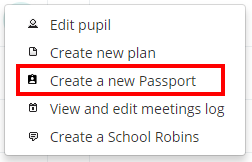
Next, click on Create a new Passport from the popup menu.
Both of these methods will take you to the Edit passport page, where you can begin entering details about the pupil’s needs and strengths.