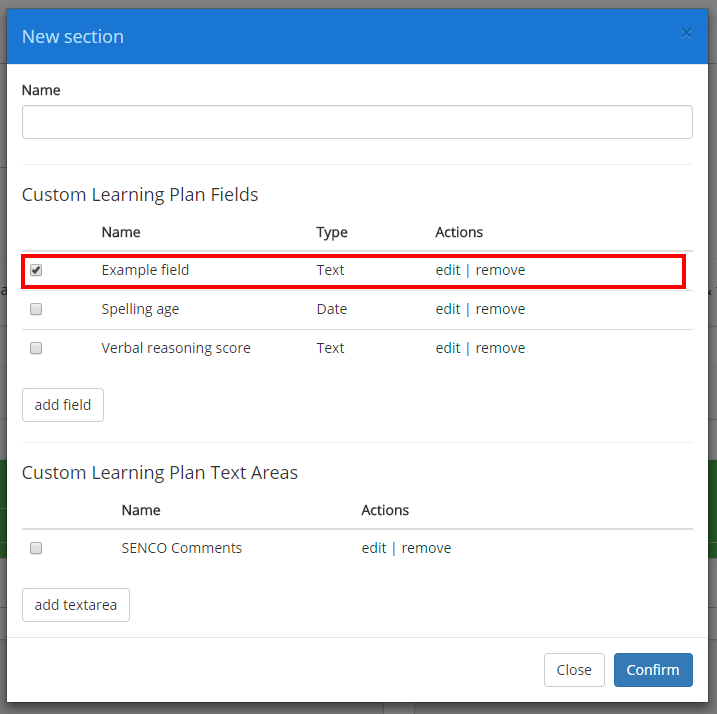
When creating and editing sections in a custom learning plan template, you can also create custom fields and text areas that house information relevant to your school’s needs.
To access the list of custom learning plan fields and text areas, click on the create new section button when viewing a template.

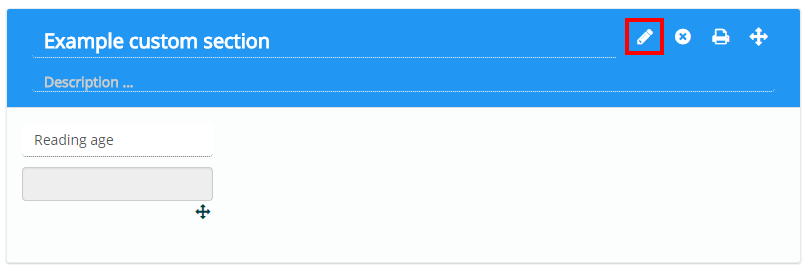
Alternatively, you can also click on the pencil icon on an existing section.
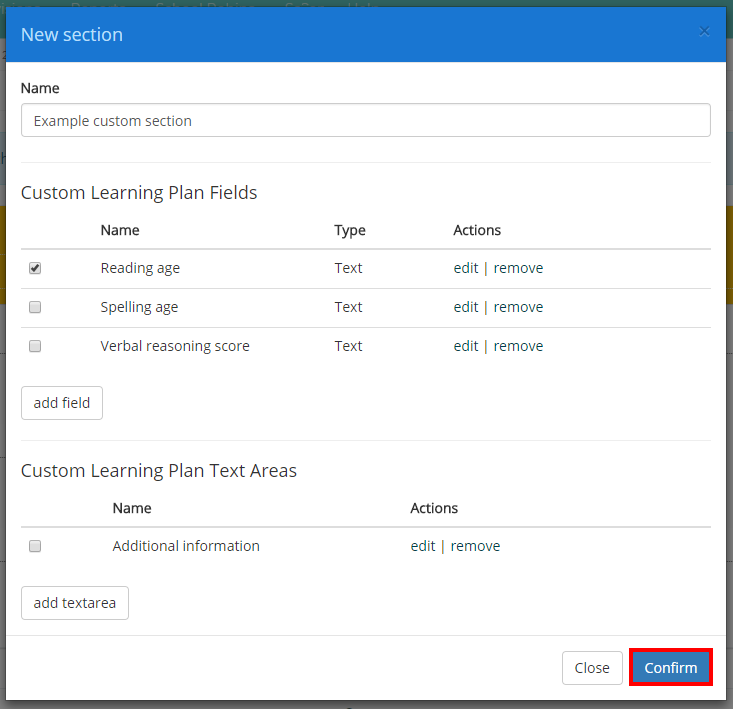
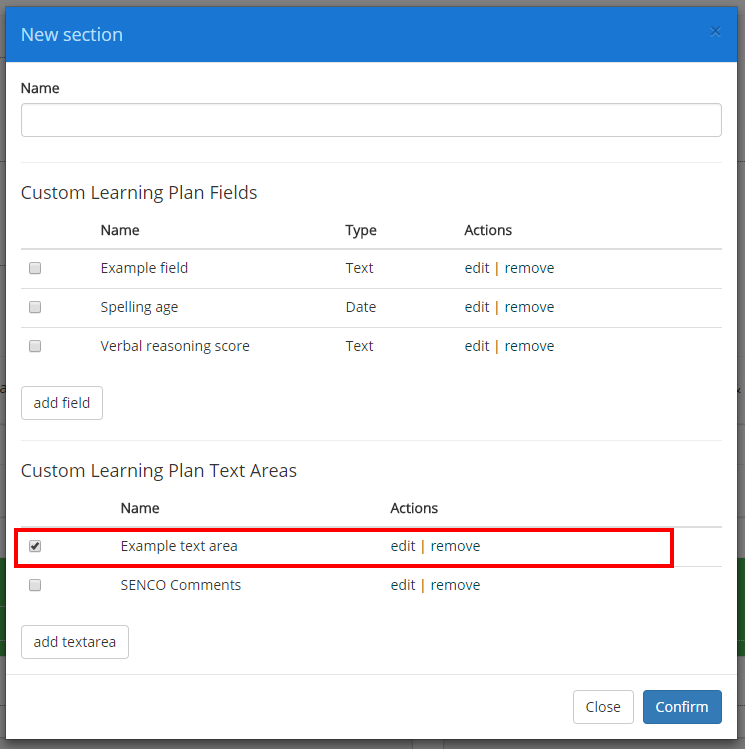
Performing either of these actions will bring up the section menu, which contains two lists of available learning plan fields and learning plan text areas.
How to add a field to a section
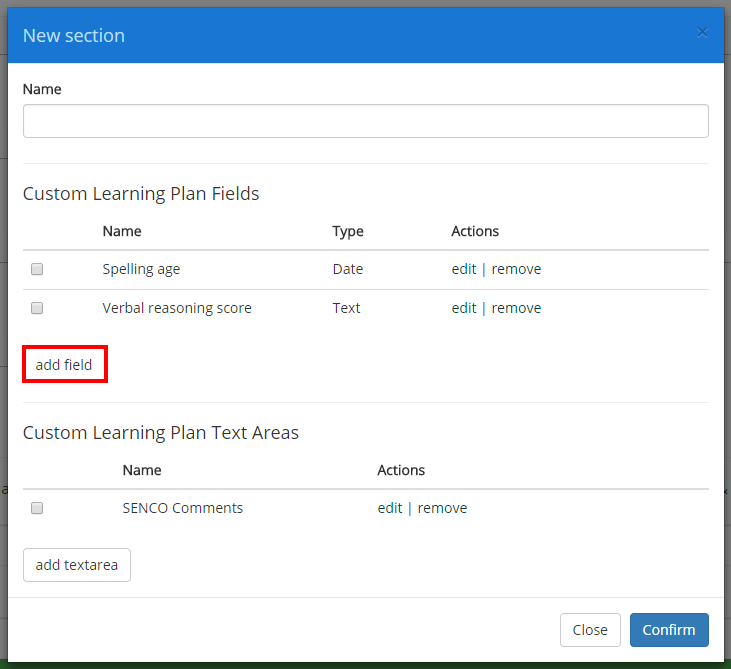
To create a new learning plan field, begin by clicking on the add field button.
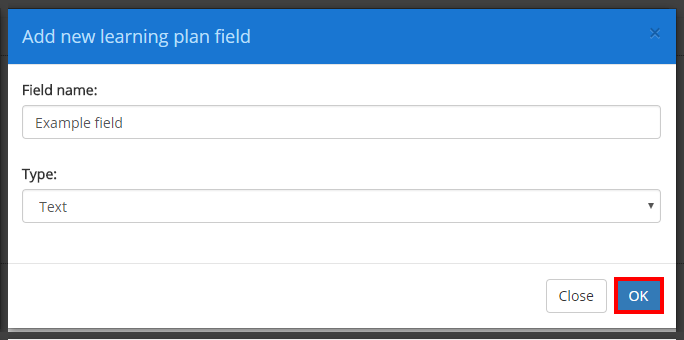
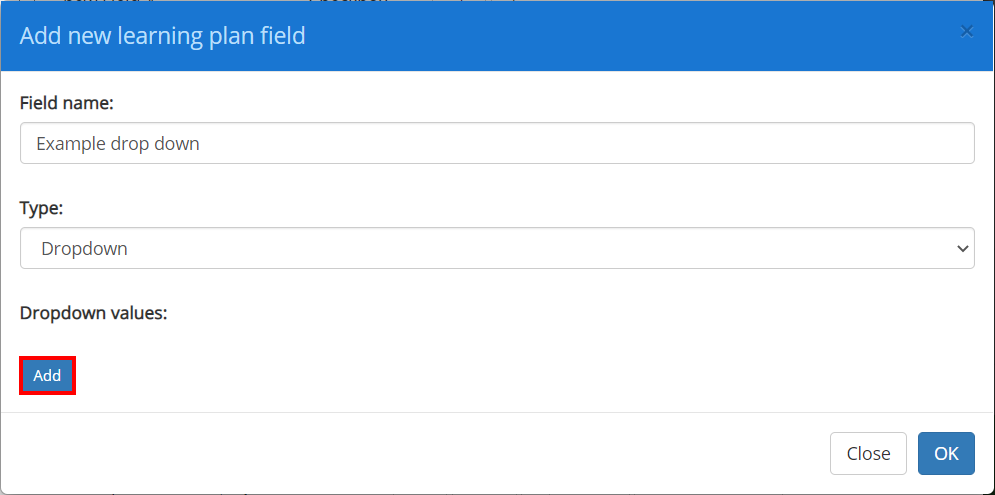
A second popup window will appear. Here, you can name the field and decide if it will be a text, date, checkbox or drop down field. Click on the OK button once you have decided.
The new field will be successfully added to the list of available custom learning plan fields. To change the field’s name and field type, click on the edit option. To remove the field, click on the remove option.
If you have created a new dropdown field, you will be provided with additional options to fill the drop down menu with entries. To add an entry to the dropdown field, click on the Add button.
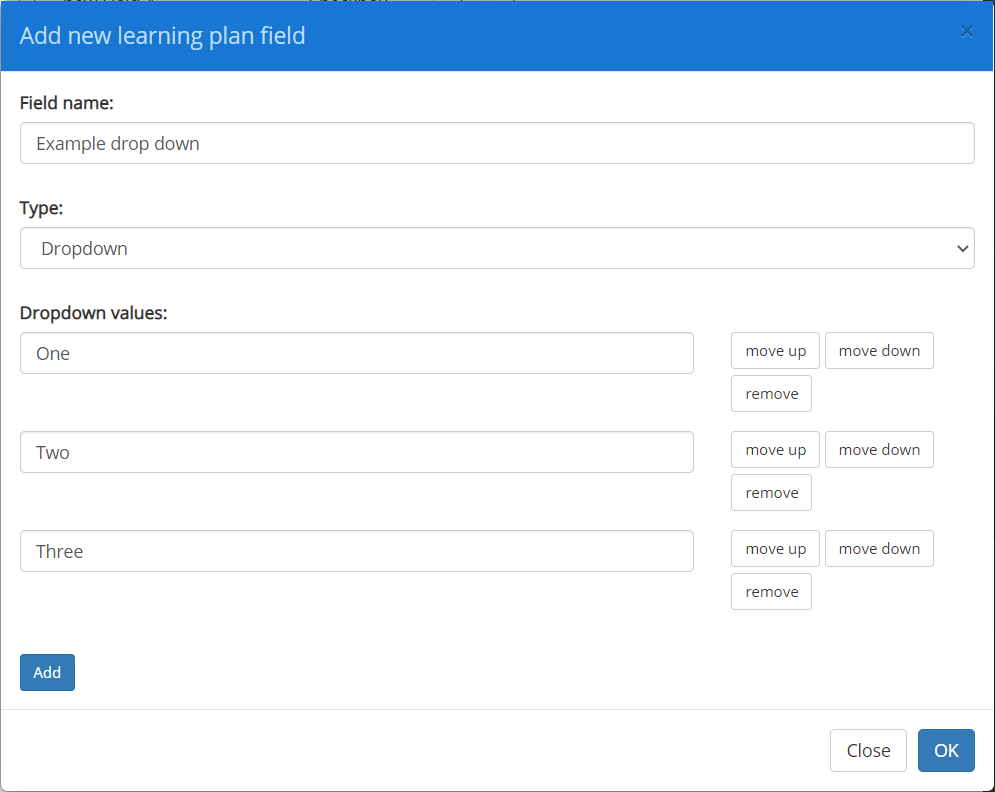
A text field will appear for the new entry. Entries in the drop down menu can be reordered using the move up and move down options, and deleted using the remove option.
How to add a text area to a section
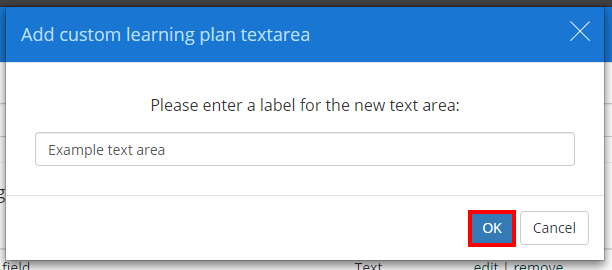
To create a new learning plan text area, begin by clicking on the add textarea button.

A second popup window will appear. Here, you can name the text area. Click on the OK button once you have decided.
The new text area will be successfully added to the list of available custom learning plan text areas. To change the text area’s name, click on the edit option. To remove the text area, click on the remove option.
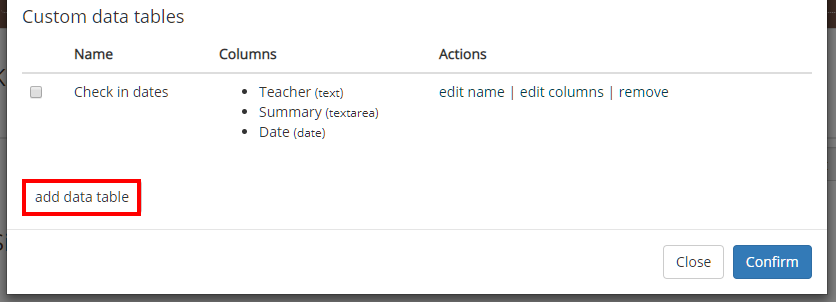
How to add a data table to a section
To create a new learning plan data table, begin by clicking on the add data table button.
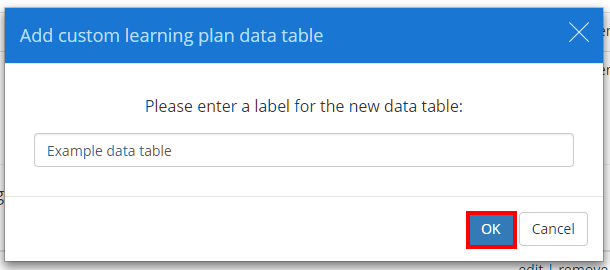
A second popup window will appear. Here, you can name the data table. Click on the OK button once you have decided.
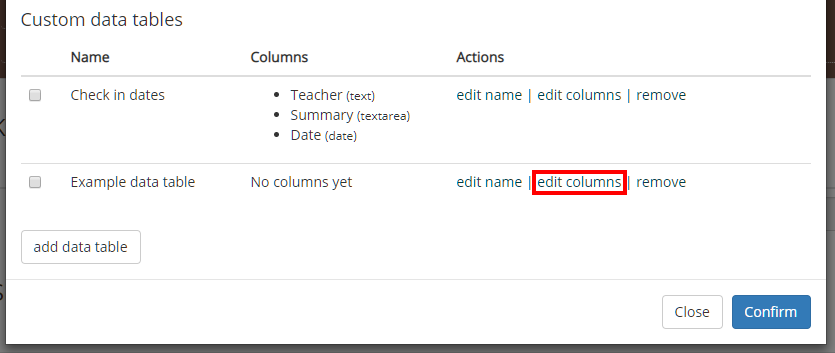
The new data table will be successfully added to the list of available custom learning plan data tables. To change the data table’s name, click on the edit option. To remove the data table, click on the remove option.
To populate the data table with columns, click on the edit columns option.
A second popup will appear. Click on the the add column button to insert additional columns into the data table.
Each column in the data table includes a Label and a type that controls the data format that is displayed in the column. Columns can be reordered using the move up and move down options, and deleted using the remove option.
Once you are happy with your columns setup, click on the Save button to preserve your changes.

The custom data table will now be updated to include the new columns.
